
Oddly enough this is the first time I've screen printed at Blenheim walk since my screen print induction. I found it really enjoyable although there is a lot of space between each stage of the process. As I have little experience with the college screen print facilities I thought I would document and narrate the process for future reference.
To begin with you have to find an available screen or in this case screens. You can expose several positives on to one large screen but it depends on what is available at the time. The screens need to be stripped of the current exposure so you can coat the screen for yours. (note: I couldn't photo graph stripping the screens as I was alone at this point and using harmful chemicals and protective gear)
Onces the screens are stripped and dried in the drying room they are now ready to be coated with the light sensitive emulsion. This can be tricky and takes a little practice, I was ok with it this time because the screens were relatively small, If it were a bigger screen It would have been best to get someone to help.
To apply the emulsion you use a troff which come in different sizes that fit to different screens. First you coat the side of the screen that would be facing down on the printing beds this is a quick movement from the base of the screen to the top. You have to make sure you do it evenly and firmly (this is the tricky part) so that the exposure will come out much clearer and crisper. After you have coated it you run the troff up both sides to get any excess off and then scrap that back into the emulsion tub so as not to waste it.

The screen now needs to be placed into a heating cabinet like the one below so that the emulsion can dry, this take approximately and hour.

Once the emulsion is dry the screen is ready to be exposed. To Create the image you desire on the screen you need to have a black and white print (to scale) of what you want to screen print. Here's the ones I used.


These are placed facing upwards and the screens are placed on top like this.

You then expose the screens to a UV light for about 10 minutes. The machine that does this needs to firstly be earthed using a cable that will be tucked down the right hand side, all you need to do with it is make sure its touching the metal frames on the screens. Then the vacuum needs to be switch on and the rubber sheeting has to be latched down. You can leave this to its own devices till its finished.

Once exposed fully you can remove the screens and begin to rinse them to get rid of the unexposed emulsion. The places where the light has hit the emulsion are now solidified completely and are no longer water soluble so they wont wash off with soap and water. The unexposed areas however, are still water soluble and they need to be washed before you start printing.


Its important to make sure you get all of the unexposed emulsion off as it may cause problems later on when printing. This may take a bit of time.
After the screens are all clear they need to be put back in the drying room (not the same as the heating cabinet) to dry off before you can start printing. This is the longest part of the process so you can either go away and do something else whilst your waiting or if your in a hurry you can speed up the drying by gently dabbing the screen with blue roll. This isn't the best option as you can get little fibres of tissue all over your screens which may cause you to have imperfections on your prints.

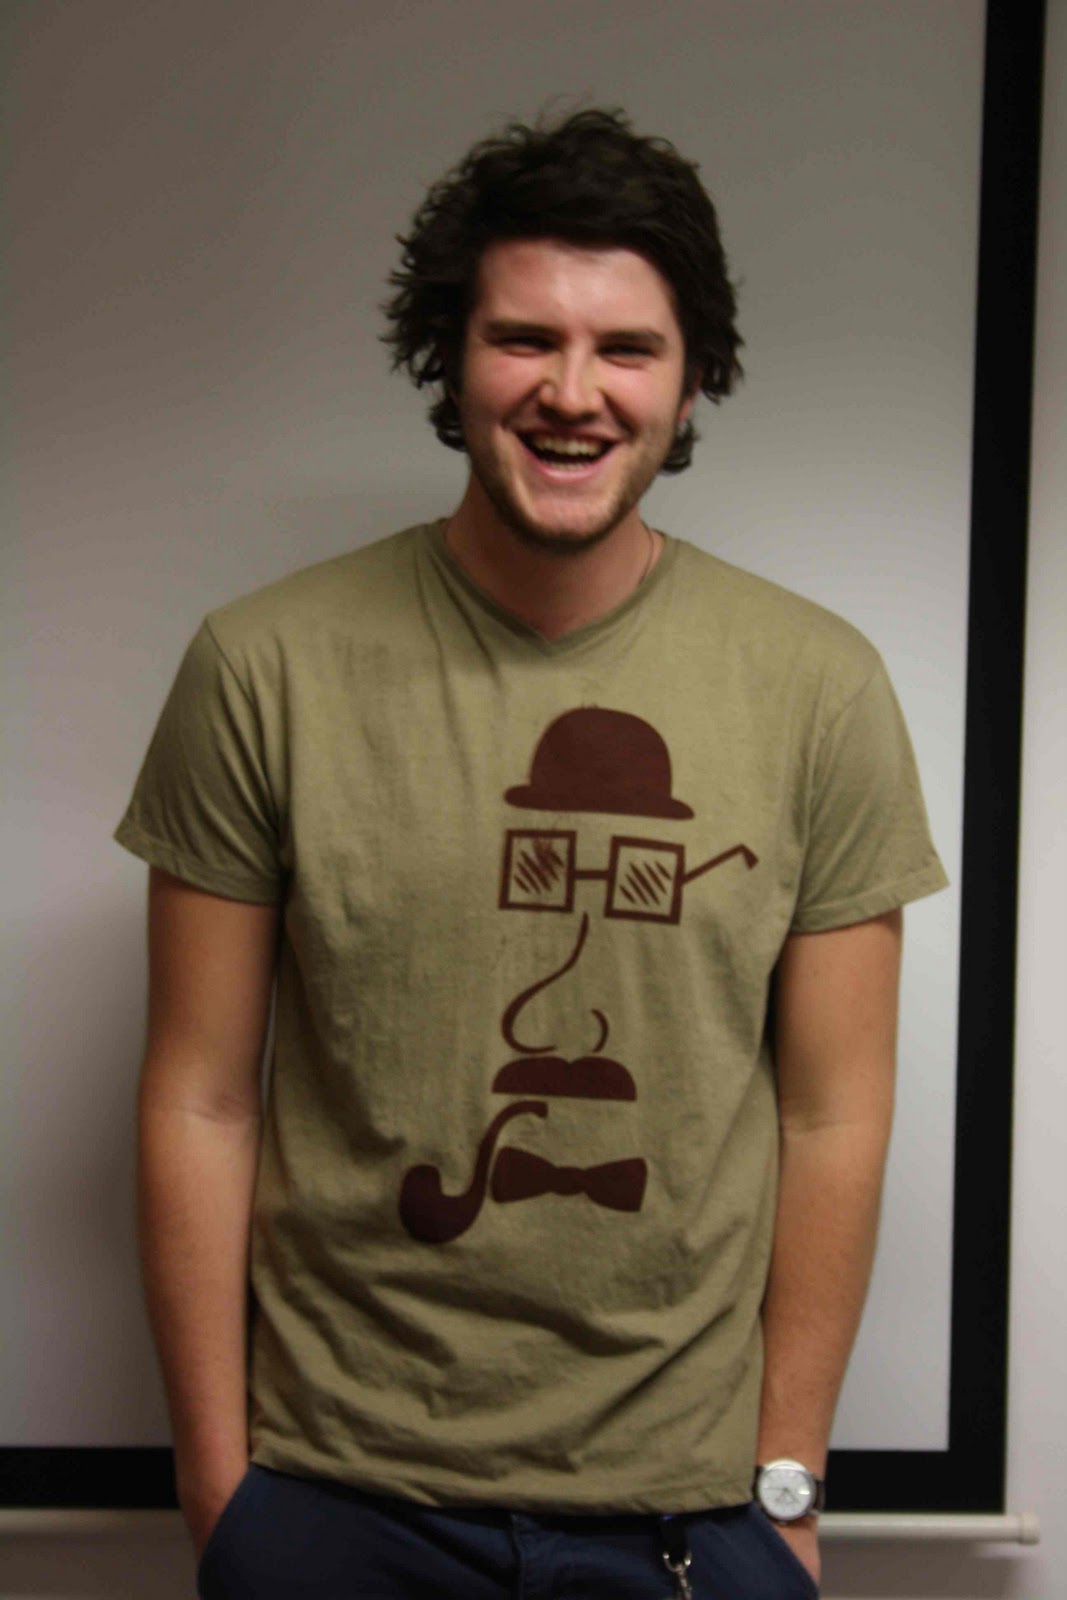
I never got any pictures of me actually printing the T-Shirts so I'll have to document that part of the process at a later date. However the prints came out nicely.
T-shirts kindly modelled by Luke O'Brien.


The Tees in their Packaging and with labels.


No comments:
Post a Comment