
2 topics for todays session:-
- Keyframe interpolation - to insert between two points/what happens between two points.
- Using Illustration paths
Bezier curves - exactly like an Illustrator path, it has an anchor point (vertex point) which you an manipulate with the handles. This can be further manipulated using the pen tool which works the same as the pen tool in Illustrator.
Convert vertex tool - changes a smooth curve point to a corner point. This can also be reversed back by clicking and dragging a corner point to bring out the vertex points handles.
This is changing the spacial interpolation.

Changing the temporal interpolation


Changing and adding more keyframes within other keyframes.
You can simply move the time cursor to a specific time and then move the object in the composition panel or you can use this button...

...in the project panel to add a keyframe.

This changes the Bezier curves. The curves no longer have dots on the path to represent frames they just have the vertex points. The diamond on the time line panel will now have changed to arrow shapes.


The second key frame is now a hold key frame here, when the solid gets to this frame it well become stationary until the next keyframe and then it will jump to that position.
BLINK exercise.


To speed up or slow down 2 or more keyframes whilst keeping the space between them equivalent the the original, you simply need to select the keyframes you want to change and hold down alt whilst moving one of them.
Another way to do this is Roving.

Select the key frames between the first and last keyframes on a layer.

Go to the Keyframe Interpolation window and change the Roving to Rove Across Time

This will make the keyframes change from diamonds to circles.

Now when you move either the first or last keyframe the keyframes in between will move to adapt.
ILLUSTRATOR
Set up a new document


Create a shape - in this case an elipse.

Copy the shape.
Select position on your solid layer then paste.

This gives you a path in the shape of the vector you just made in Illustrator.

Auto Orient - this function makes the layer orient itself around the path.

Creating masks/layer masks


Reveal exercise.

Create a layer mask over the text.

Using keyframes to make the text reveal itself.


Melt exercise.
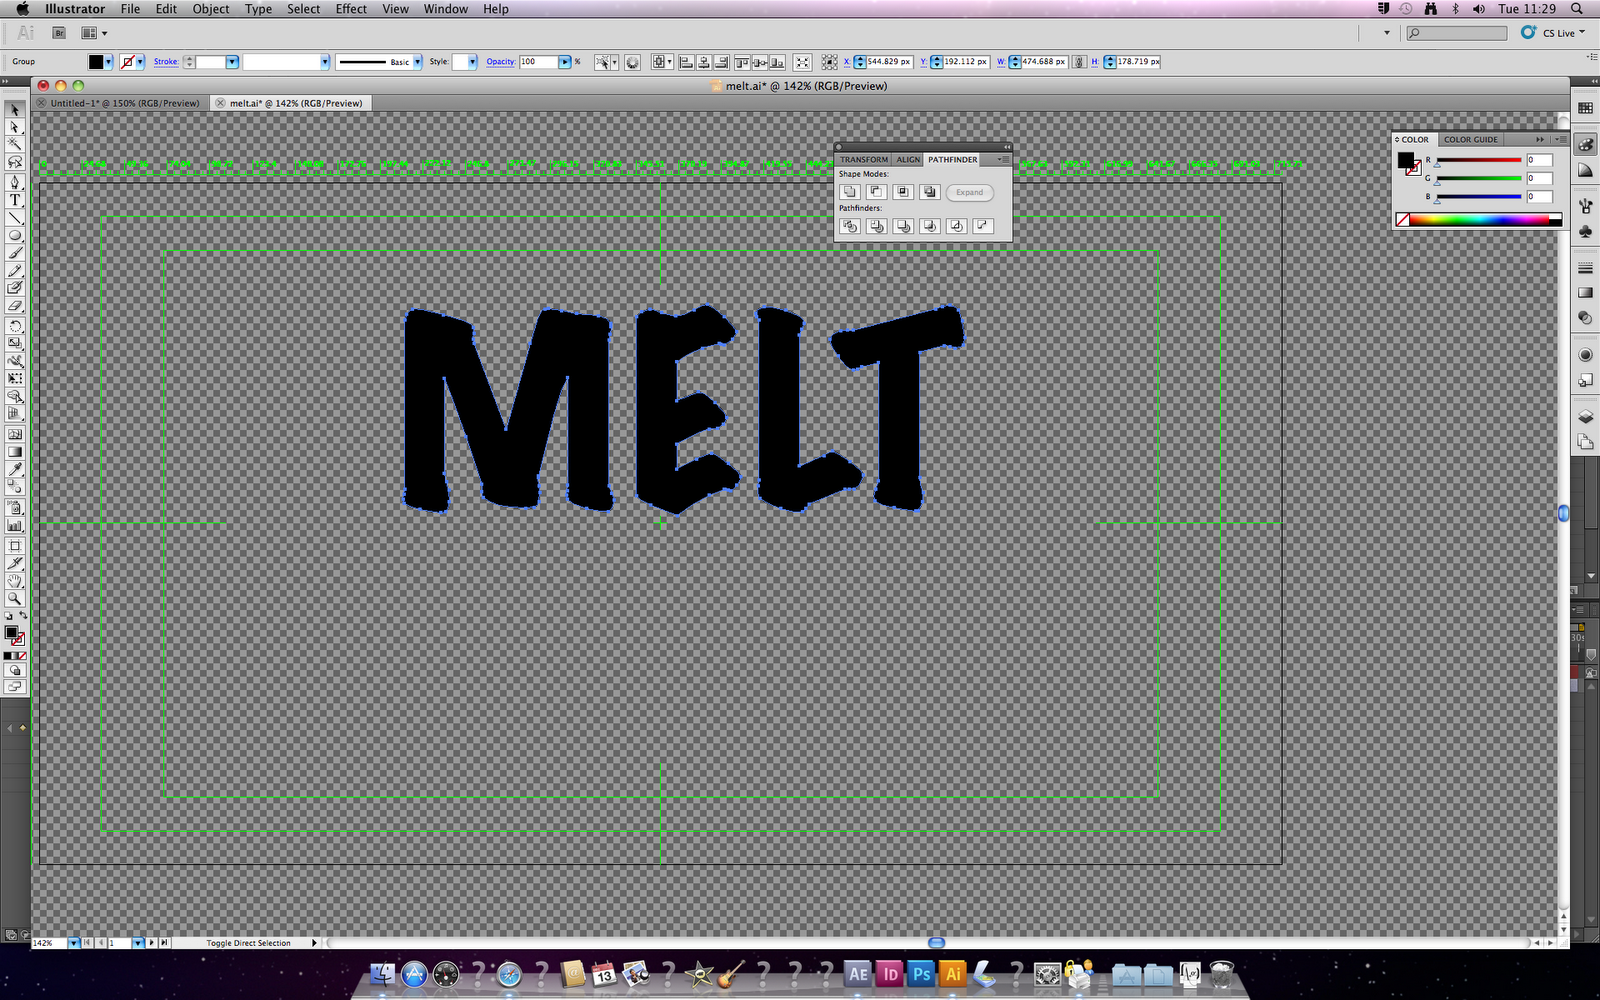
copy and paste the text from Illustrator.

Each letterform has its own mask.

So each mask can be individually manipulated, or you can manipulate them collectively.

Pressing 'M' on the keyboard will bring up the Mask Path keyframe option on each layer.

From here you can create a key frame and change the masks to animate the text.


Matte Dots exercise.

Toggle Switches / Modes reveals a set of different options to use for your masks.


You can only use these on layers which are above others, you can't use it on the top most layer in the list.

The Alpha Matte function has now created a mask around the text to reveal the dotted pattern underneath.

Motion Matte Cloud exercise.
Working with footage that is larger than the aspect ratio.

This allows you to create a moving background without having to animate each individual shape.


Then using the Alpha Matte function you can make the background animate across the type.


